If you use a PIN rather than a password to log in to Windows, you may need to switch to a standard password.
Microsoft/Office365 accounts also may not work, try a local user in this case.
To remedy both situations, see the end of this guide first.
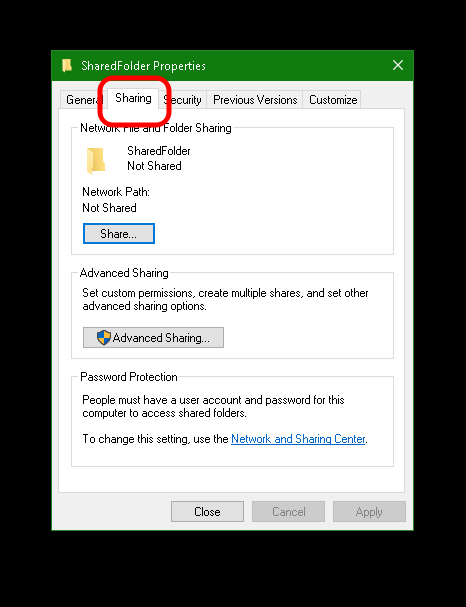
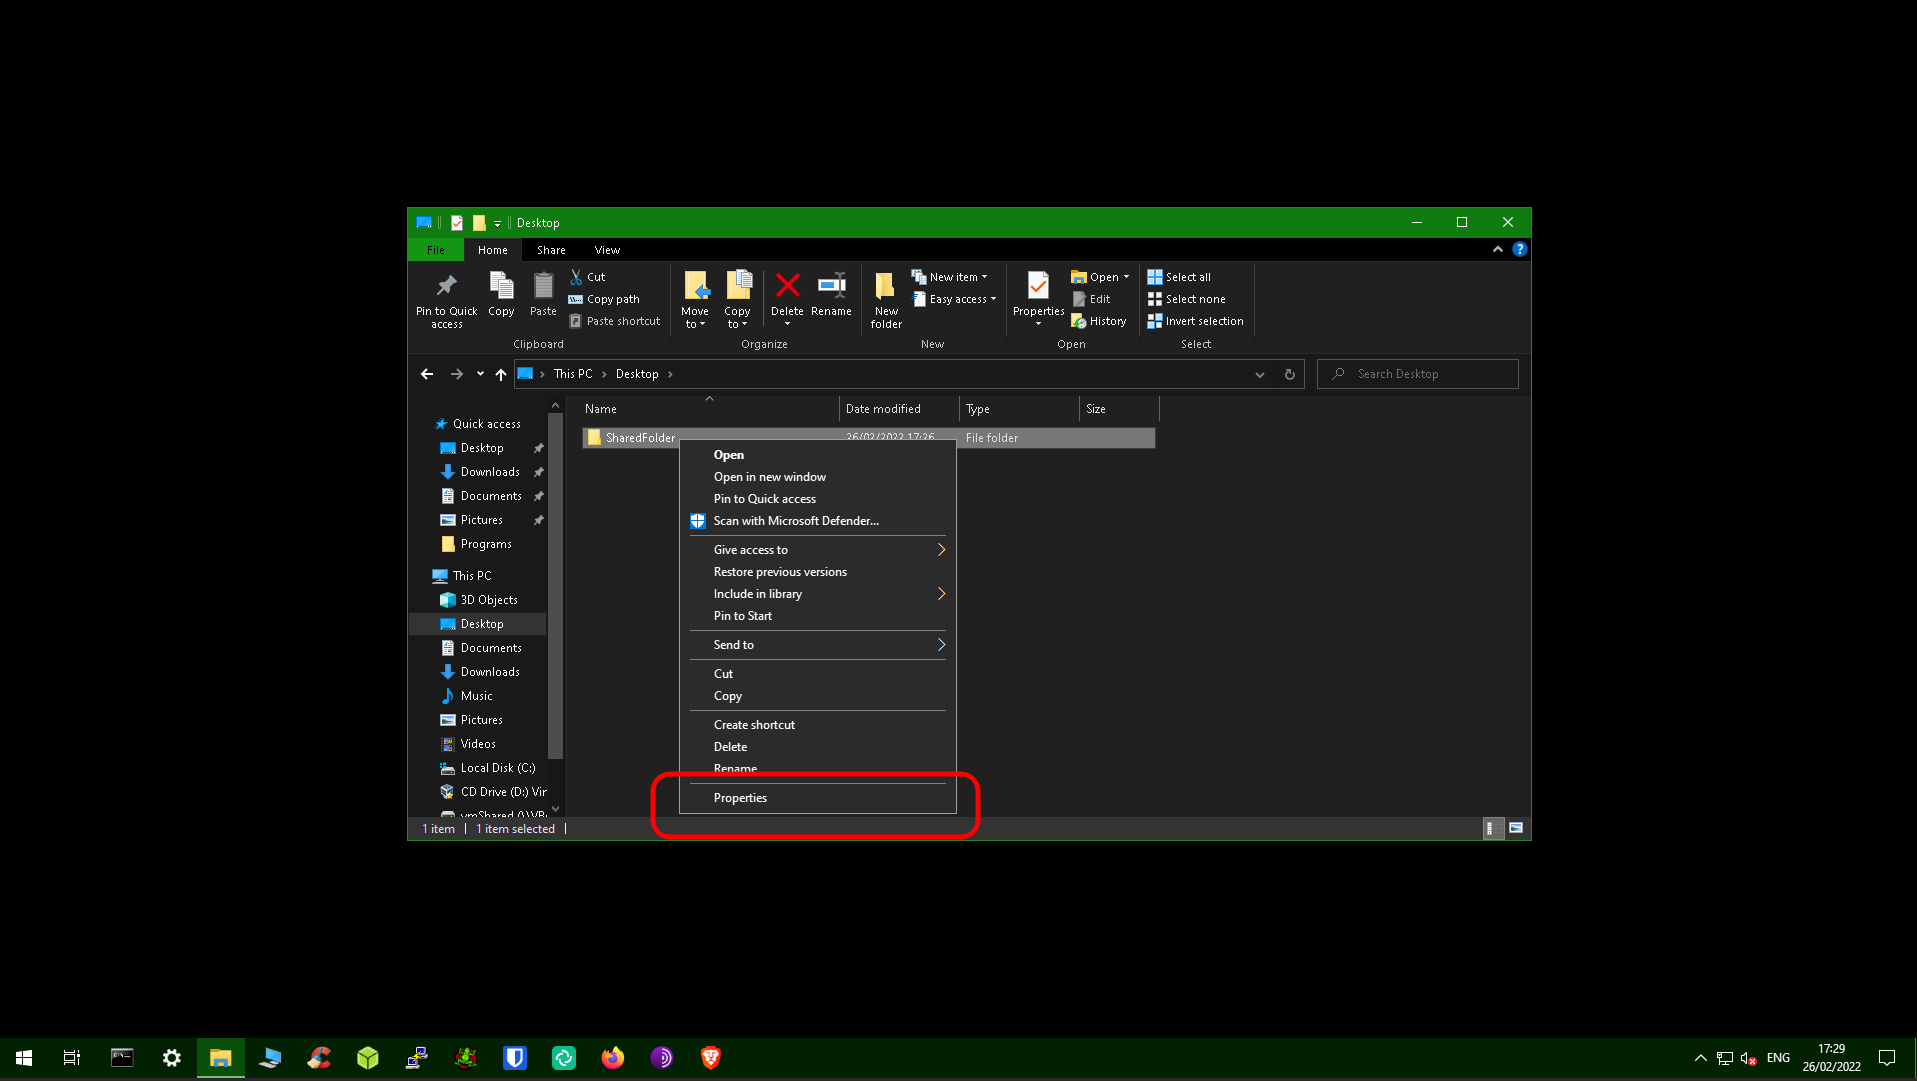
Create a folder, or select an existing one. Right-click the folder and select “Properties”
Click the “Sharing” tab…
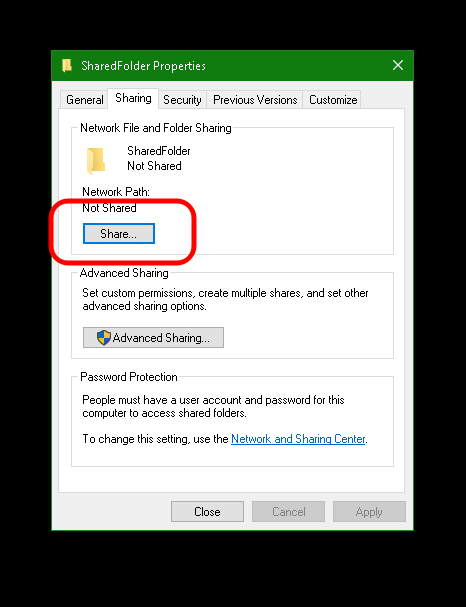
then click “Share”
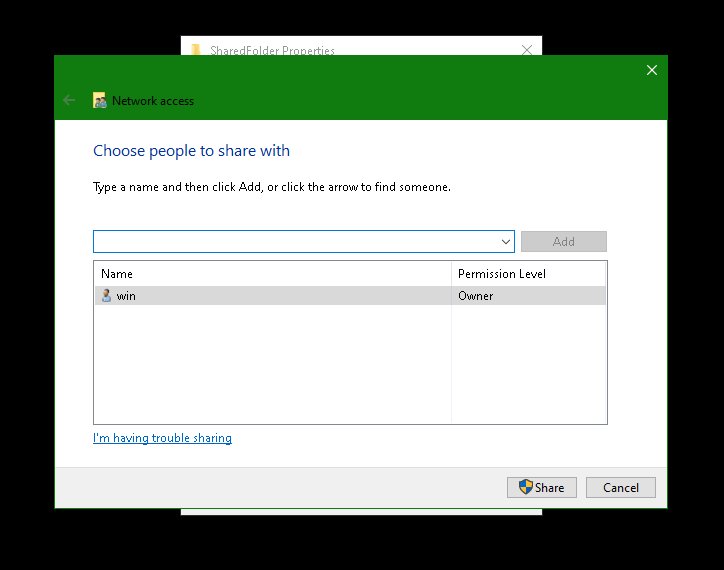
Select a user you want to use for login and click “Share”
Note
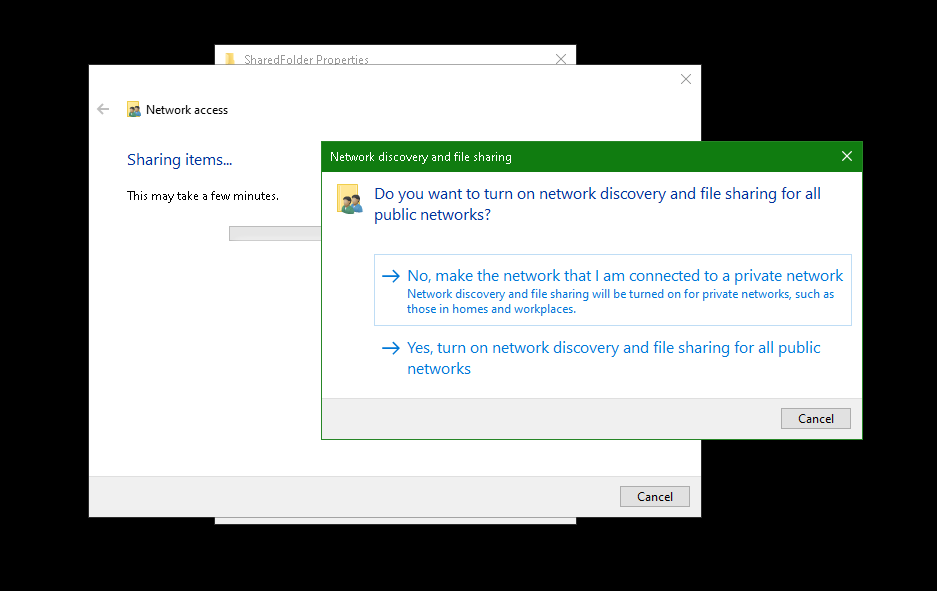
If you get the following dialog box, you have designated your network “Public.” You may wish to change to “Private” if this is your home network. Otherwise you may turn on network sharing for public networks.
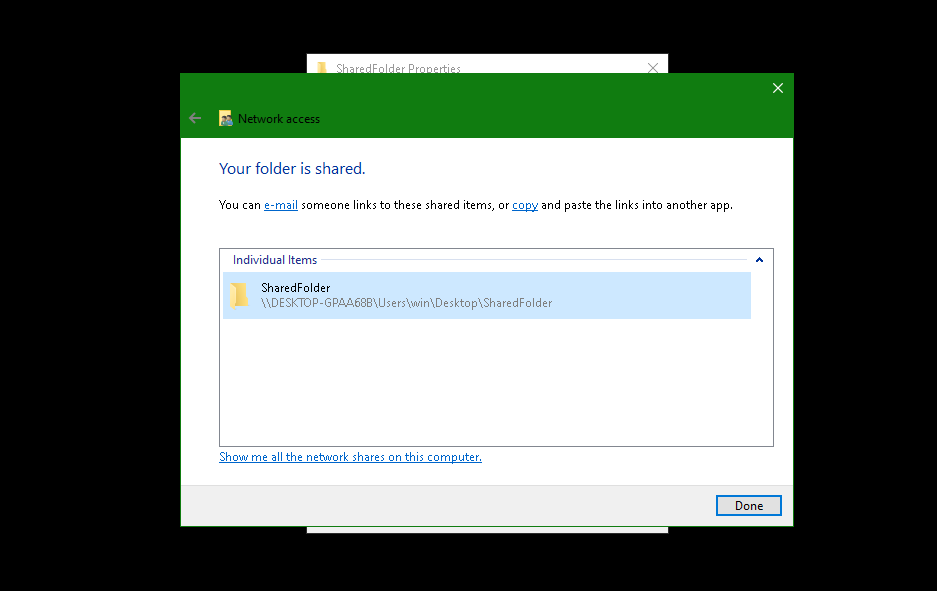
Note the Windows directory path in grey text, highlighted in blue, beginning at the first single slash (\). We will take that share path and enter it as the “Path” in the final step below.
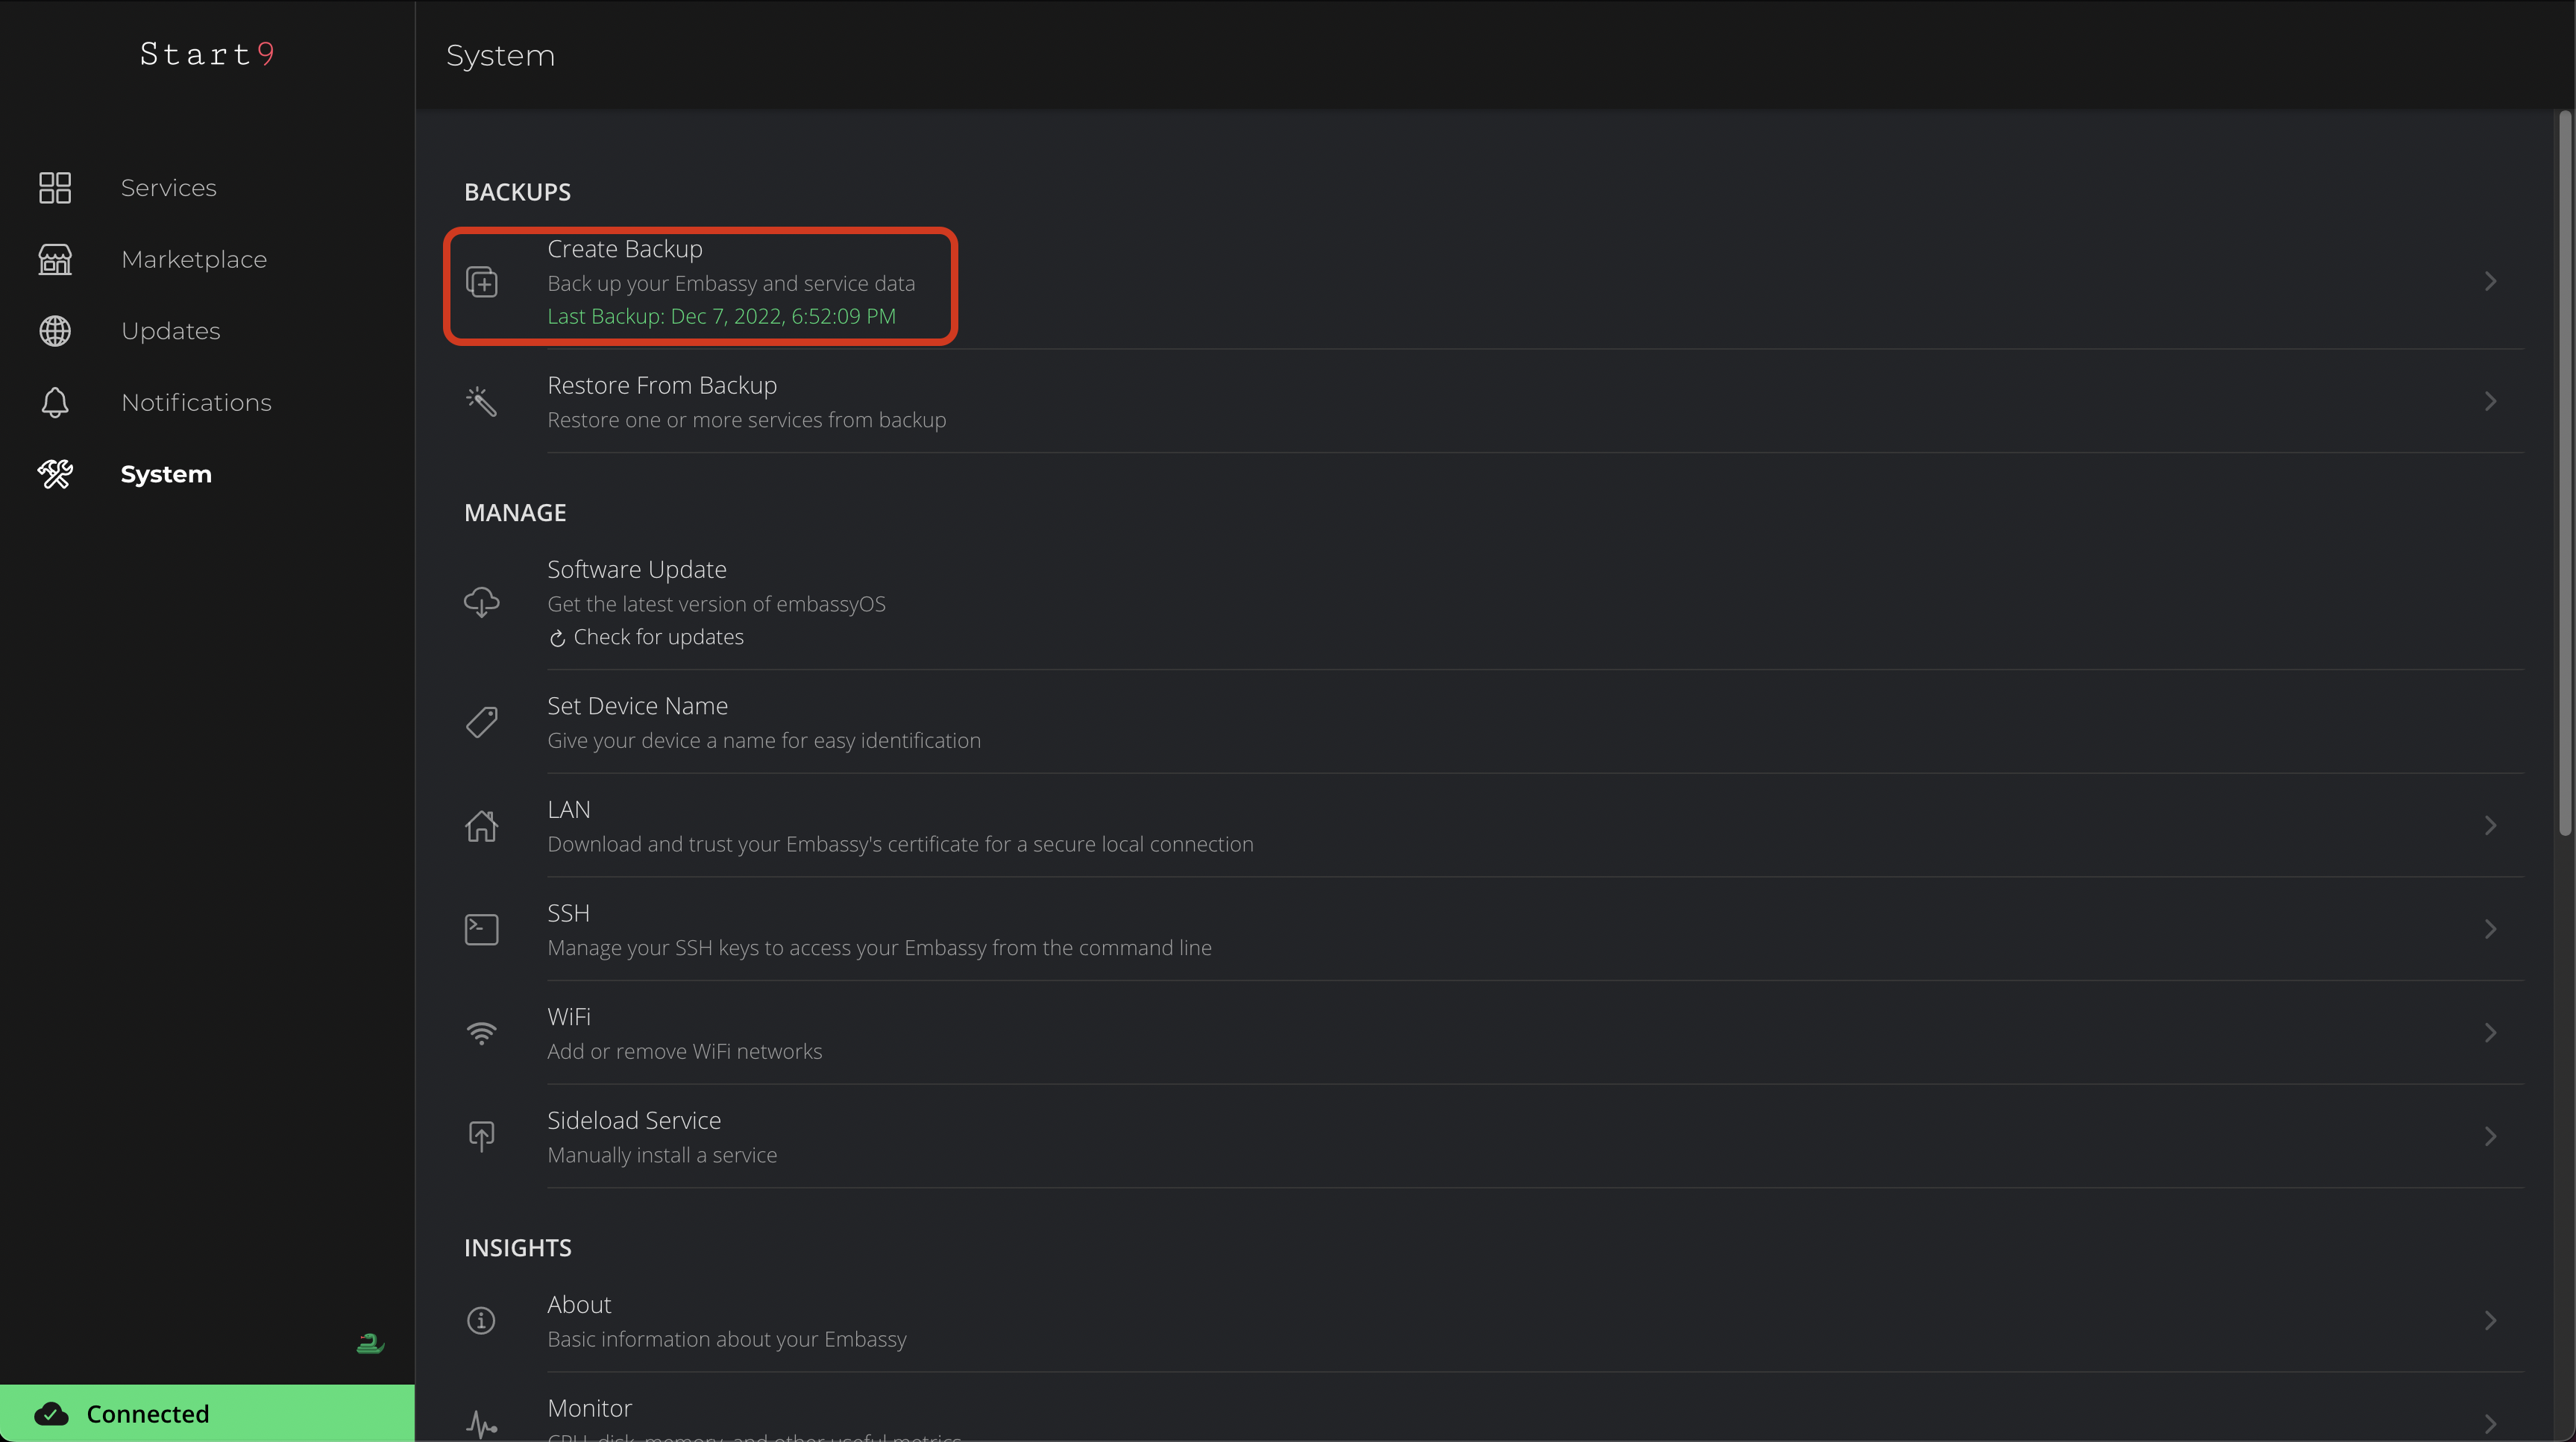
Return to your StartOS UI, and go to System > Create Backup
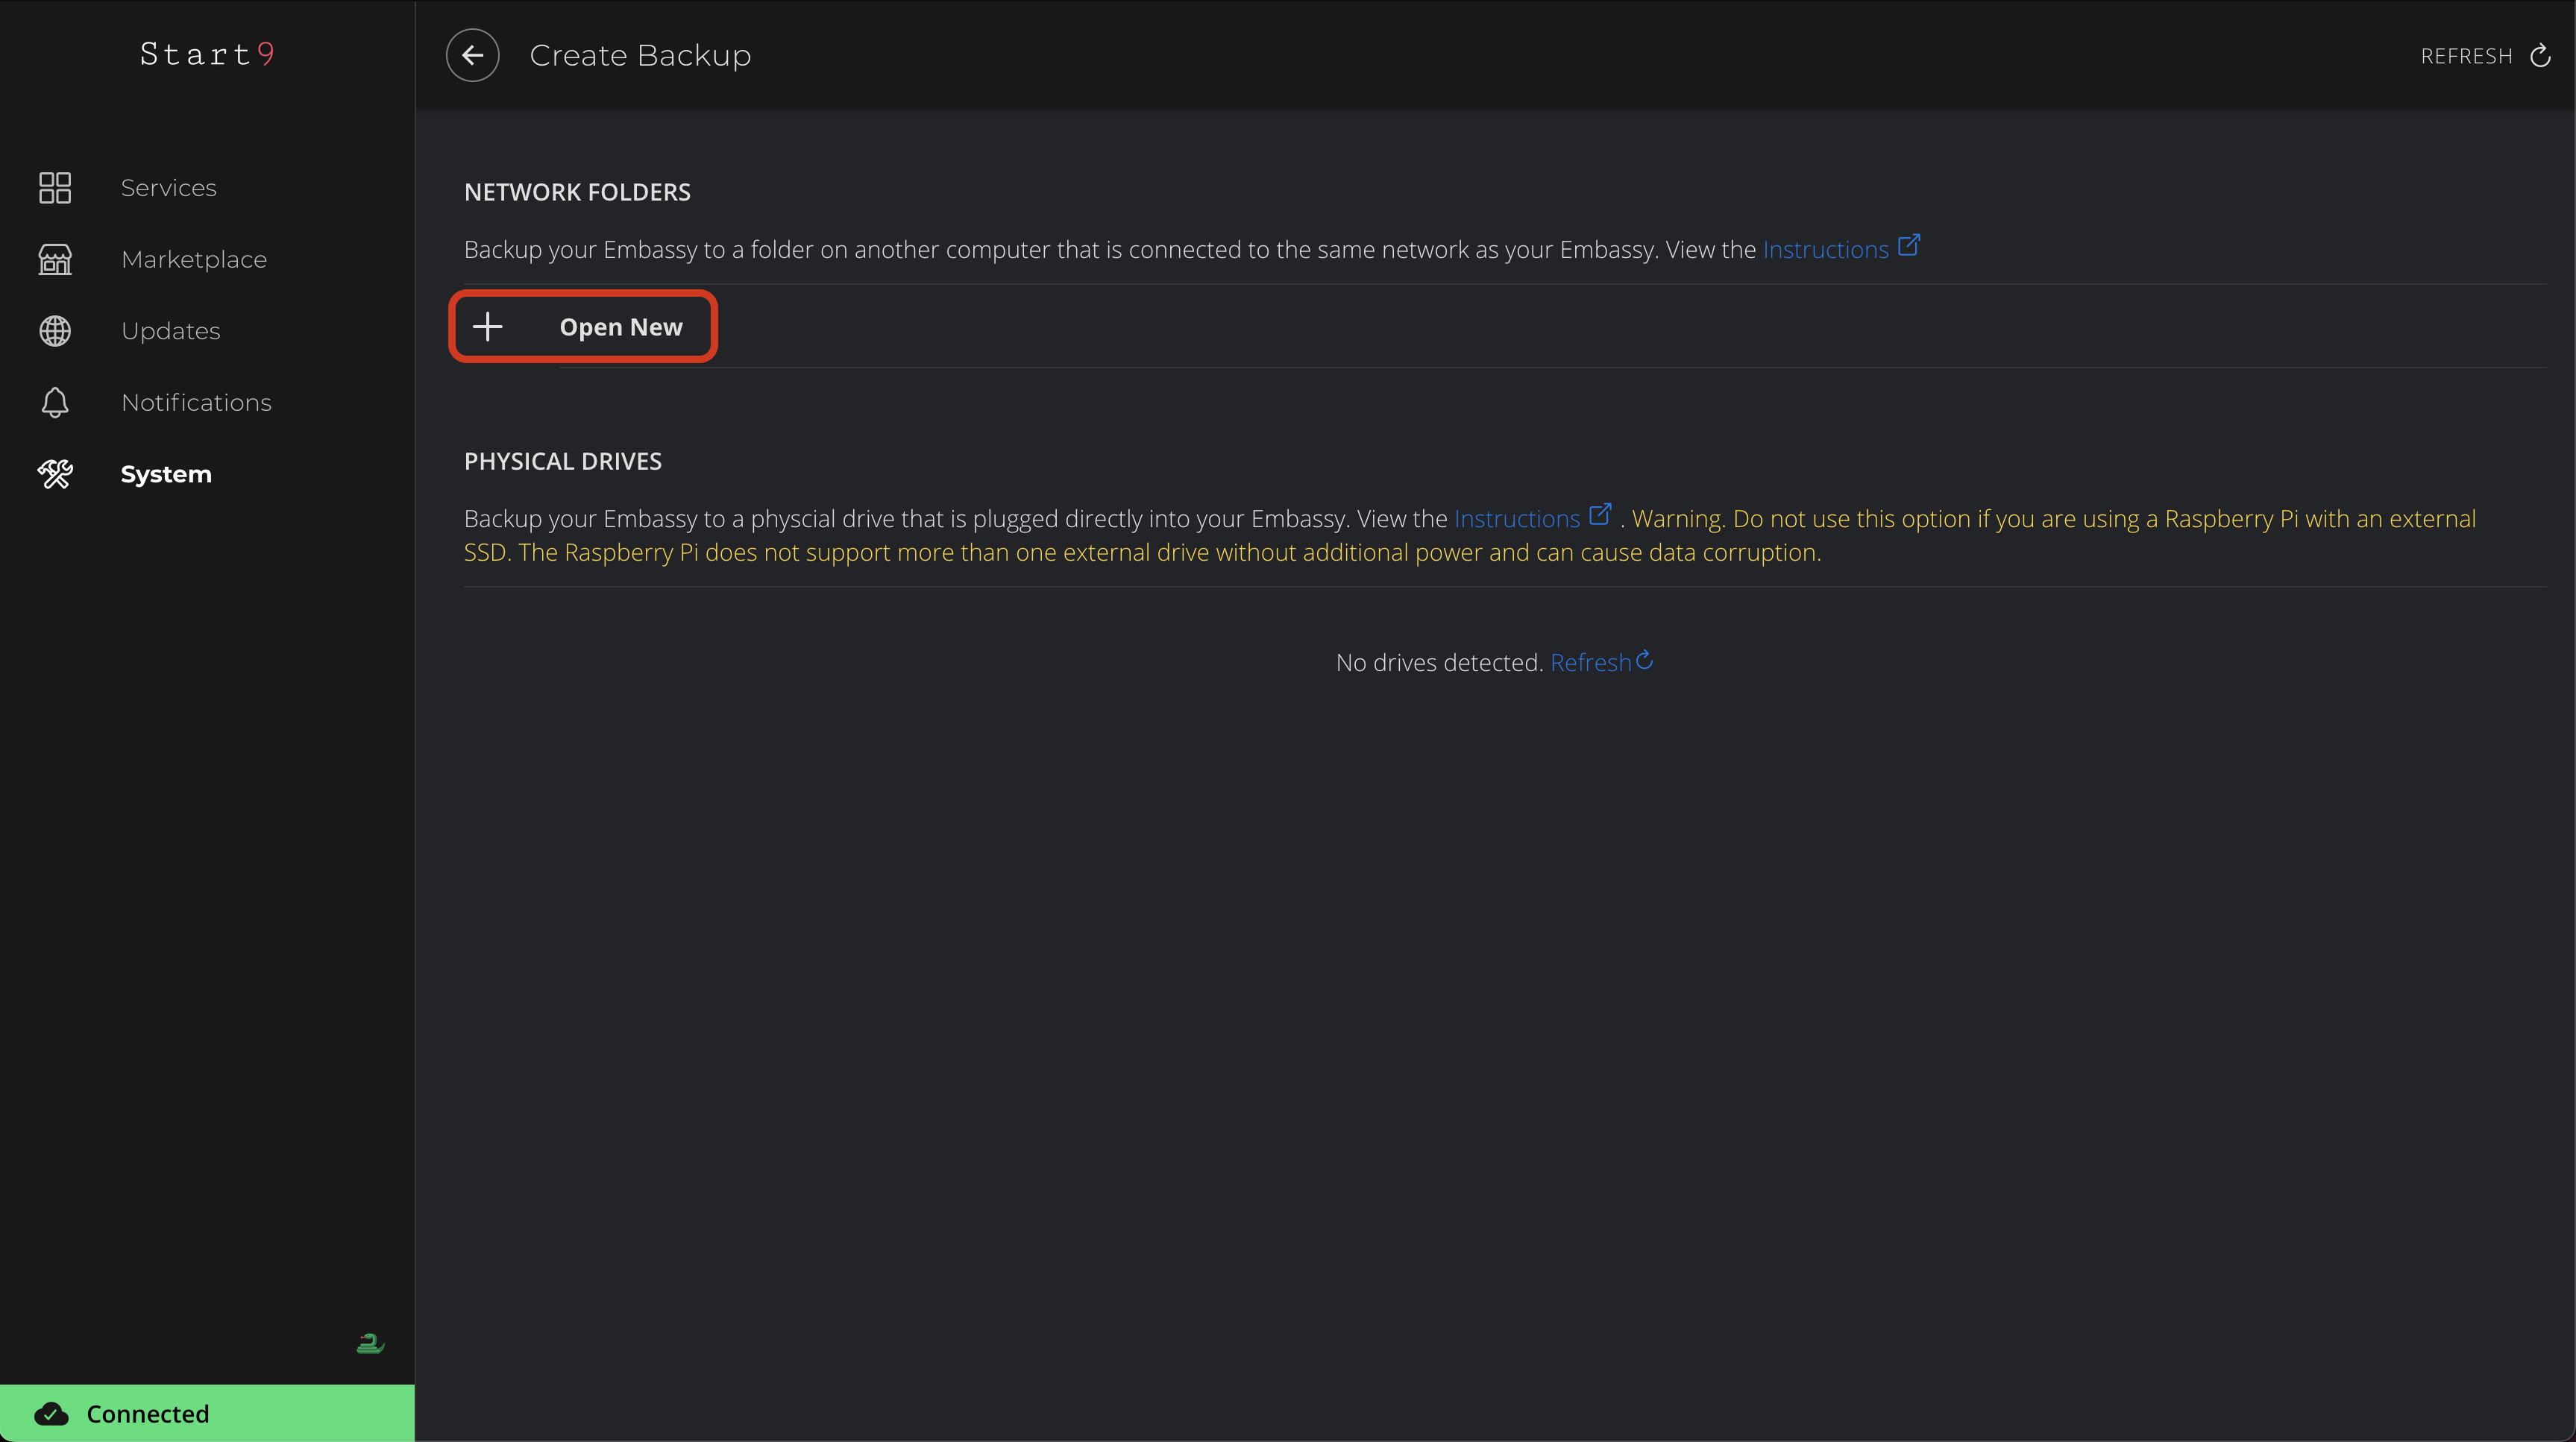
Click “Open” to set up a new connection to your Shared Folder
Fill out the following fields as shown below:
For “Hostname” - Enter your Windows computer name (this is shown after a \\ in Windows)
For “Path” - Enter the full path followed by the share name displayed in the Windows sharing dialog shown in Step 4 above. In our example this would be, literally, /Users/win/Desktop/SharedFolder. When entering the path, make sure replace the backshashes \ shown by Windows with forward slashes /.
Enter your Windows username and password in the “User” and “Password” fields
That’s it! You can now Create encrypted, private backups of all your server data to your Windows machine or external drive!!
Remember: If you use a PIN rather than a password to log in to Windows, you may need to switch to a standard password.
In Windows you’d have to do the following:
Press Windows+I to open the Configure window
Go to Accounts > Sign-in Options
Scroll down to “Require Windows Hello Sign In for Microsoft Accounts” and set the button to “Disabled”
Go up to “Windows Hello PIN”, click “Remove”, and confirm once more (You might need to go all the way back out and back in)
“Password” should now be visible and allow you to set a password.
Caution
Microsoft/Office365 accounts also may not work, try a local user in this case. You may not want to do this on a company/school device.
To Switch to a Local Account, you’d have to do the following:
Press Windows+I to open the Configure window
Go to Accounts > Your Info.
Under “Account settings” click Sign in with a local account instead.
You’ll be prompted to confirm your current Microsoft account password.
Create a username for the local account (it can be the same one you were using).
Set a password for the local account (again, it could be the one you’re used to)
Click Next, then Sign out and finish. When you restart you’ll be logging in as a local user.
Tip
If you receive the following error:
Filesystem I/O Error mount error(22): Permission denied
Ensure your that you entered only valid characters in the fields. Make sure you are using the correct form of slashes, as per the guide above.
Tip
If you receive the following error:
Filesystem I/O Error mount error(13): Permission denied
Ensure your username and password are correct. Also ensure your windows password meets any length and complexity requirements set by your local Windows policy.
Tip
If you receive the following error:
Filesystem I/O Error mount error(115): Operation now in progress
Click Start > Settings > Network & Internet > Ethernet (or WiFi) and select the “Private” profile to treat your LAN as a trusted network that allows file sharing.