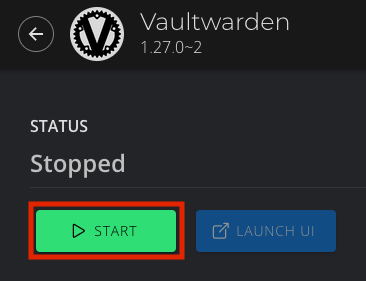
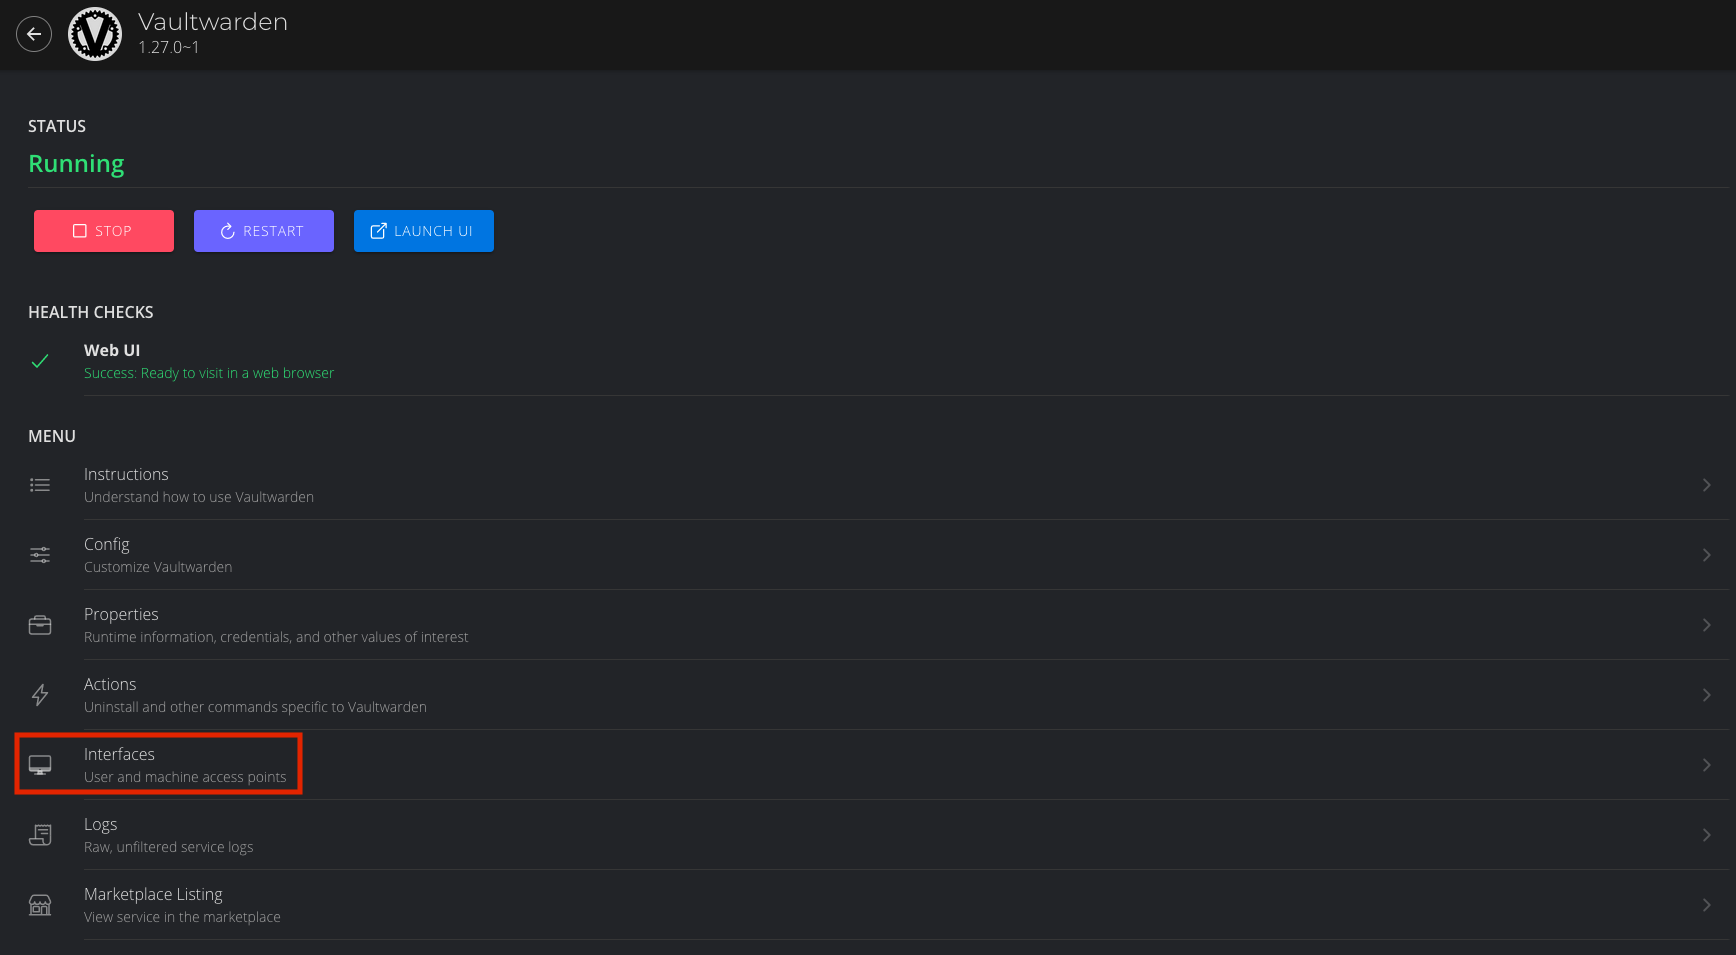
Ensure Vaultwarden is running - click START on your Start9 Server if not:
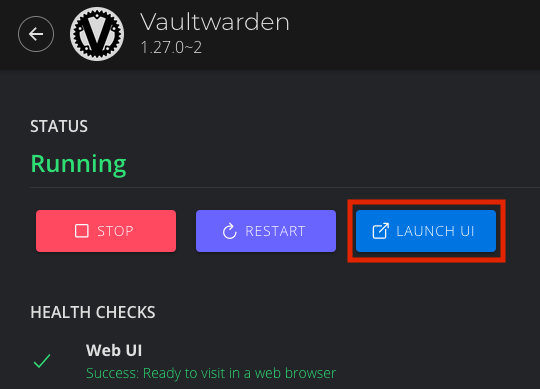
Once the health check turns green, click Launch UI:
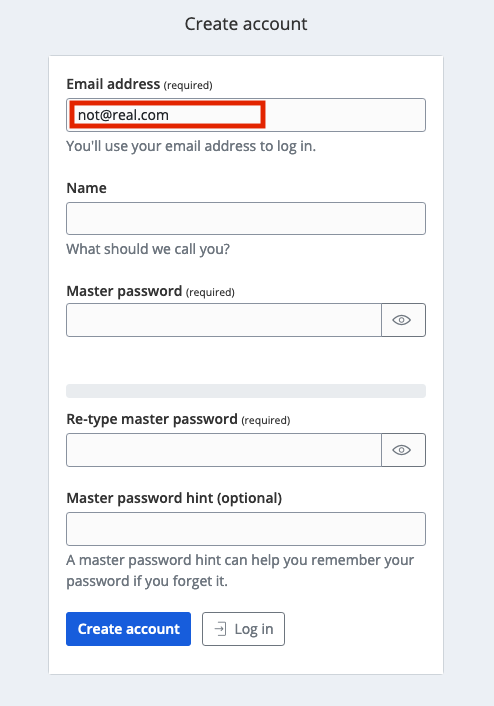
Time to create an account! Click Create account:
Note
You are creating an account with yourself on your own Vaultwarden website served from your own Vaultwarden server - there are no third parties involved here.
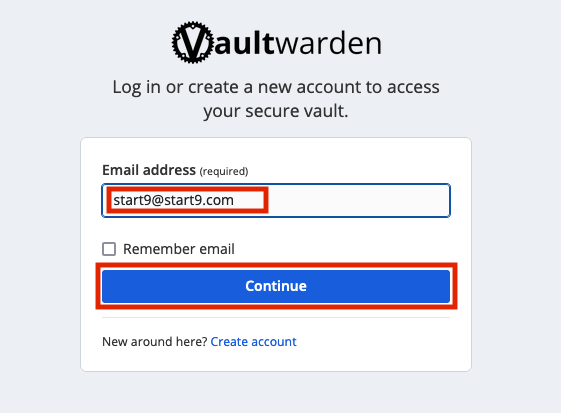
Enter an email address for login:
Tip
This email address can be anything you like. It doesn’t have to be real. It is simply a way for you to log into Vaultwarden from Bitwarden apps on your devices. Your Vaultwarden server won’t ever email you.
Tip
You cannot use this email address to reset your master password - it is simply used to create an account on your server.
Warning
Do not lose it - you will not be able to log in without it!
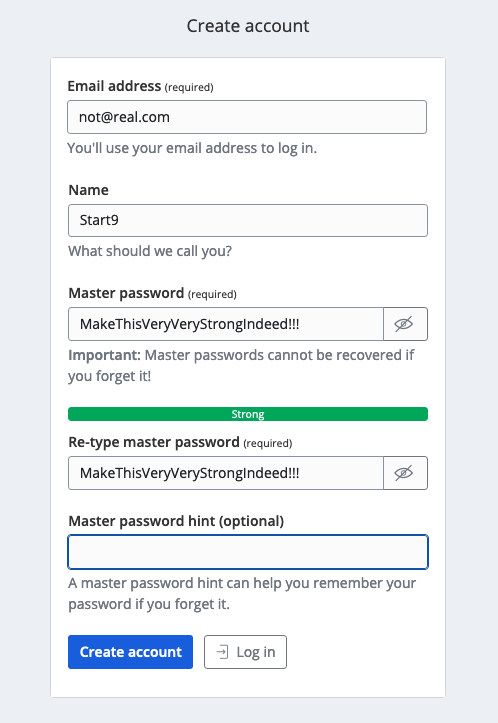
Enter a name for the account, a strong password and (optionally) a password hint - then click Create account:
Warning
It is important to realize that this is the ‘Master password’ for all your other passwords. Make it very strong, memorize it, write it down, and back it up to a safe place. If you lose it, you may lose access to all your passwords and your entire digital life.
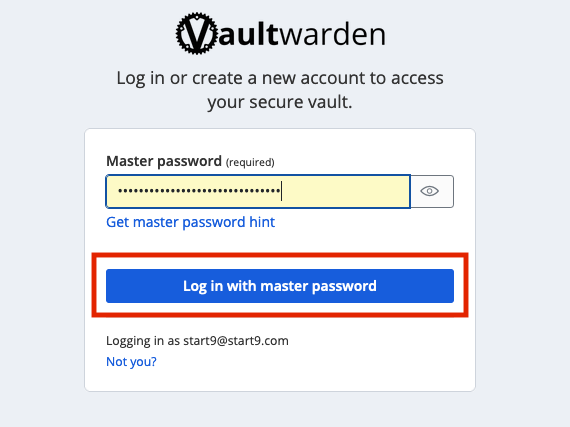
Now you can log in to your new password manager! Enter your email to login:
Then your master password:
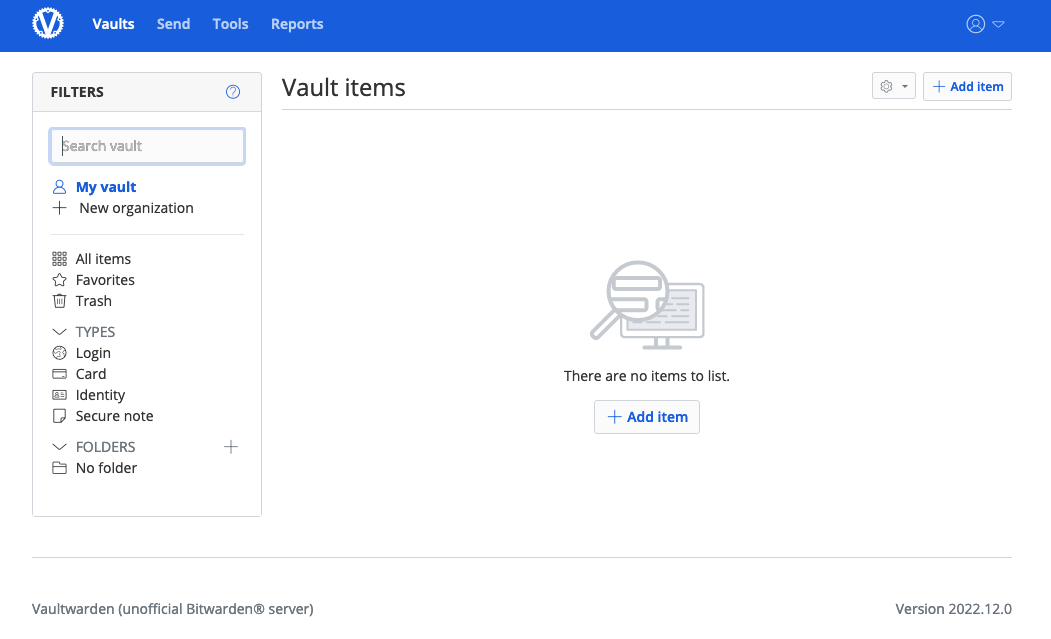
We are greeted with our newly setup Vaultwarden password vault!
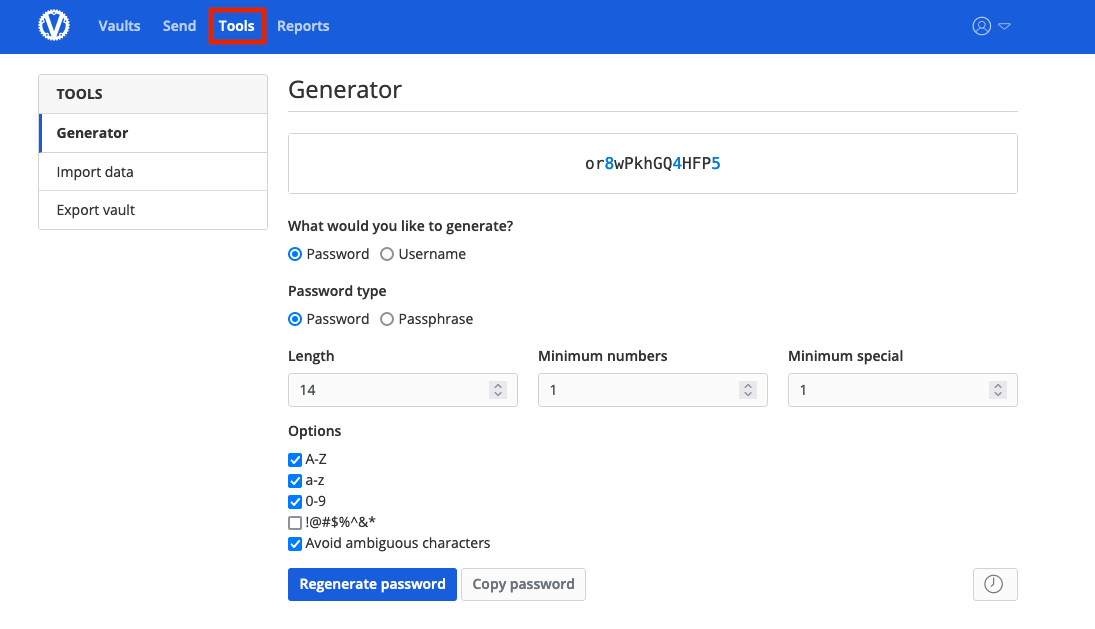
At the top you can visit Tools for reports and to use the password generator. You can also import data from another program, such as Lastpass, Onepass, or KeePass!
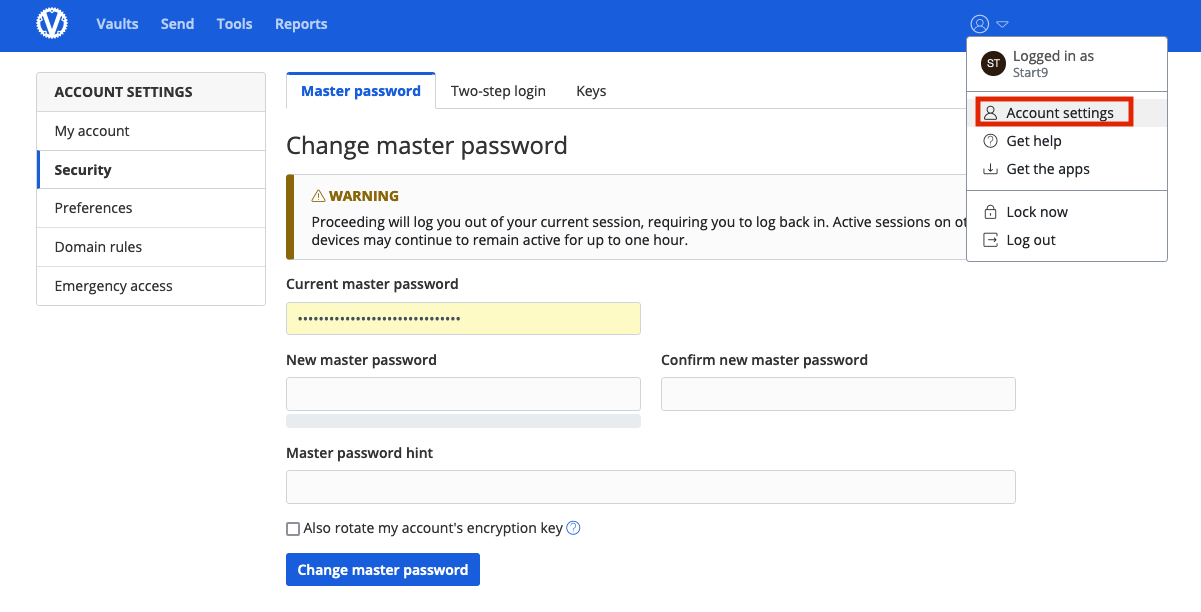
Account settings gives you all your options, including the ability to set up 2 factor authorization.
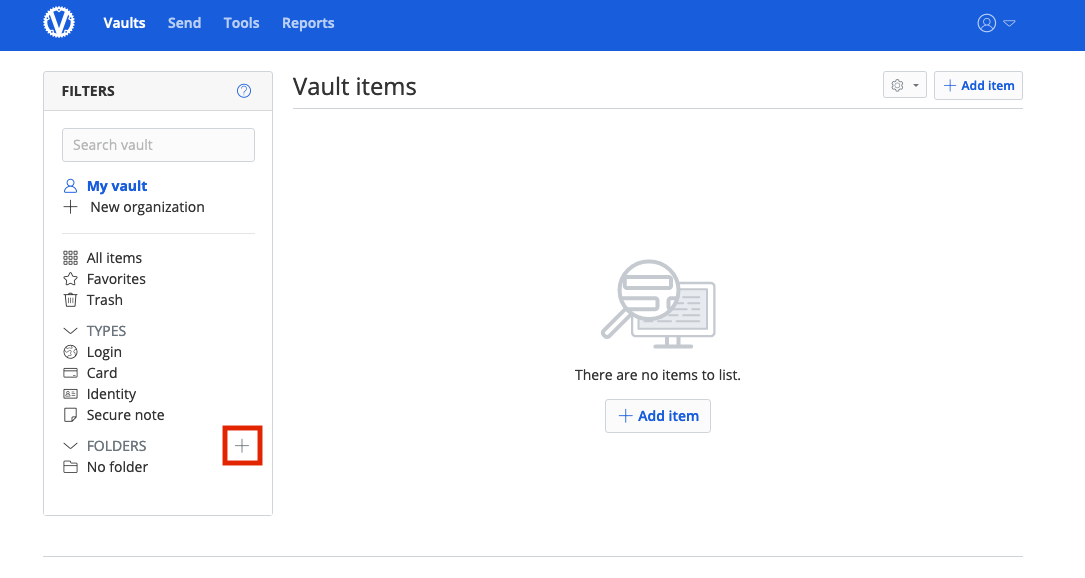
Back at the main page for your vault, let’s do a quick example login. We’ll start by creating a folder for it:
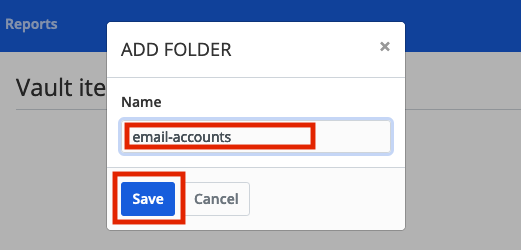
Name the folder and click Save:
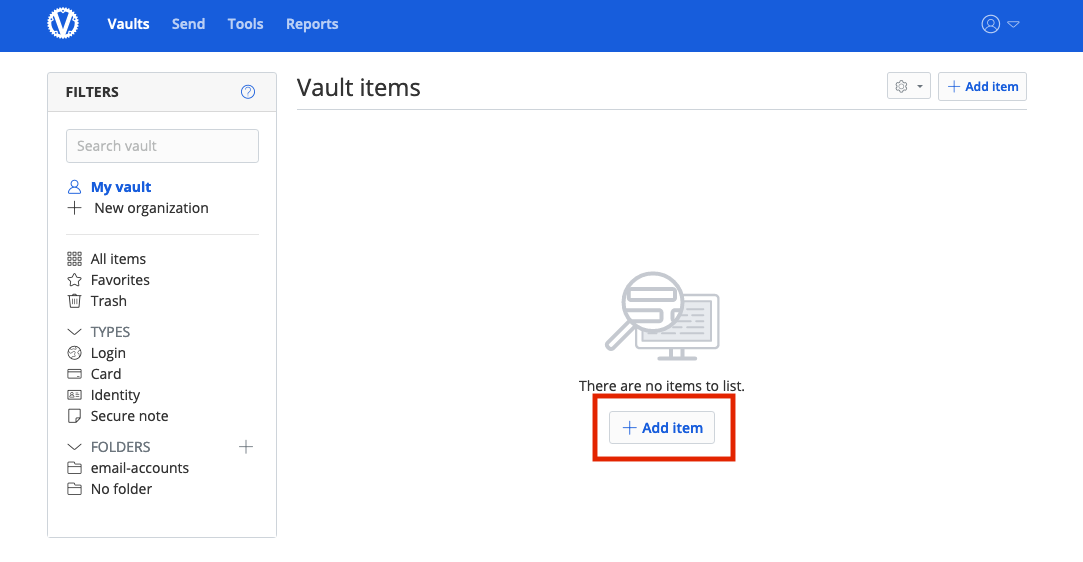
Click Add item:
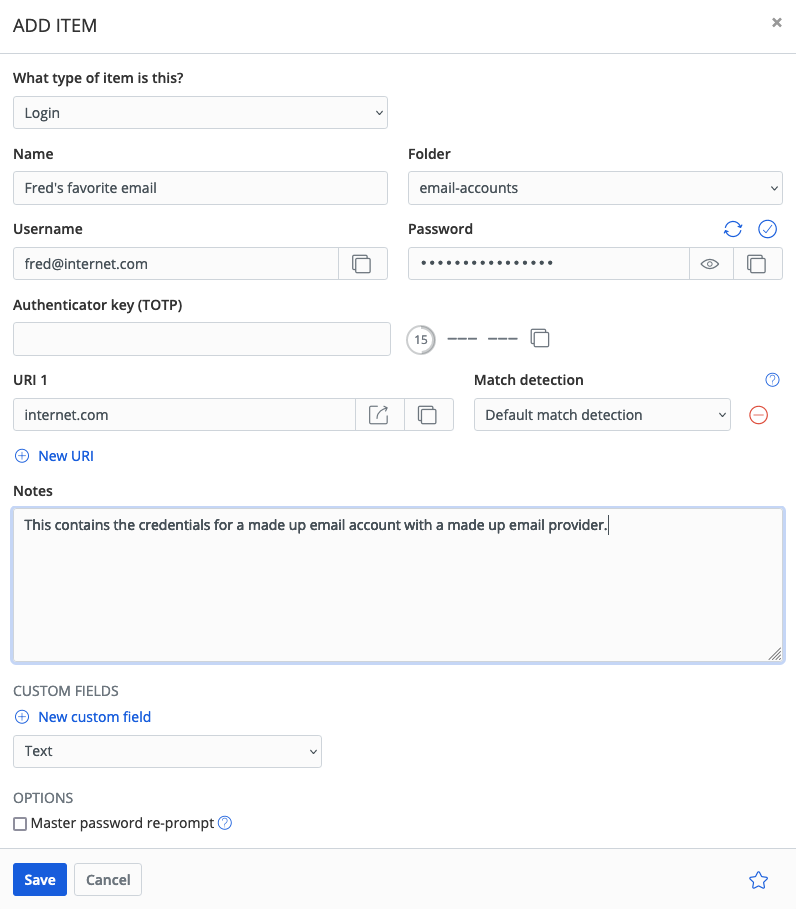
Now add the credentials and click Save:
Tip
An entry can have multiple URLs - for example you may wish to enter both an onion address and a .local address for one of the services you have running on your server. We are increasing the numbers of ways in which you can connect to your services, soon they may even have simple .com addresses!
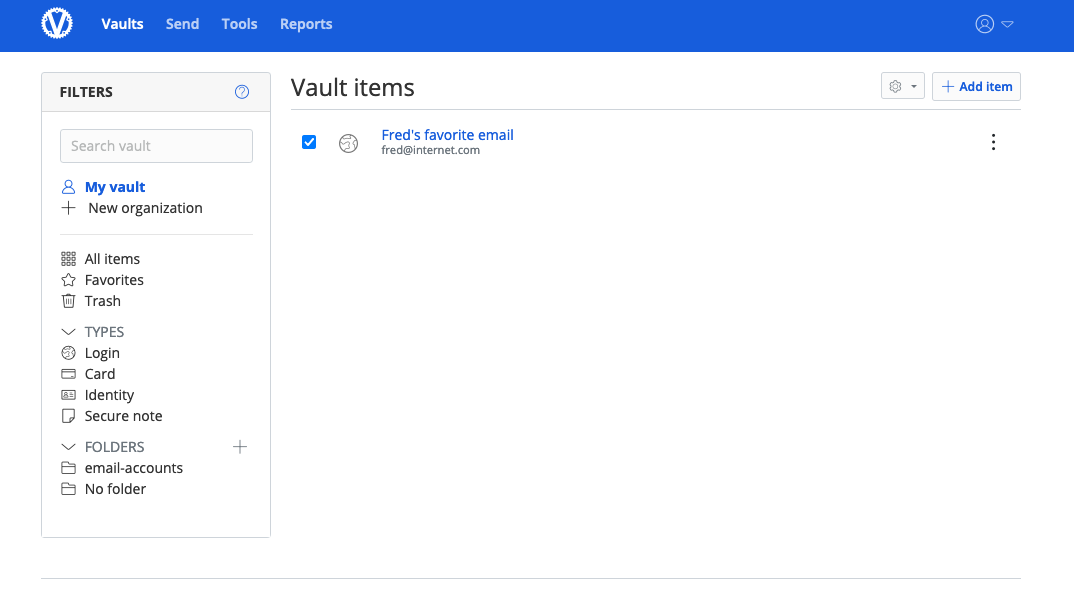
And there we have it - our first set of login credentials.
Congratulations! You have setup your own self-hosted password manager and have added a set of login credentials to it!