Like most Linux distributions, you can go “under-the-hood” via SSH (Secure Shell Protocol) if you choose. It’s a good idea to have set up, but generally, all server access is recommended via the UI. If you are auditing, doing dev work, hacking (with an understanding of the consequences), or are directed to by a Start9 support tech, then you may need SSH access.
For security reasons, password access is not available, so you will need to add an SSH key to your server via the method below.
Open a terminal and enter the following command:
ssh-keygen -t ed25519You will be asked to
Enter a file in which to save the key- we recommend you pressEnterto use the default location
Create a strong passphrase and save it somewhere safe, or press Enter for no passphrase
Note
The next 3 steps only apply to Linux and macOS. If you are on Windows, please skip down to Registering an SSH Key.
It will inform you that your public key has been saved. Take note of this path:
Your public key has been saved in /home/user/.ssh/id_ed25519.pub
Next, start your system’s ssh-agent:
eval "$(ssh-agent -s)"
Now add your key to it:
ssh-add ~/.ssh/id_ed25519Note that if you changed the file name/location in step 1, you will need to use that file/path in this step
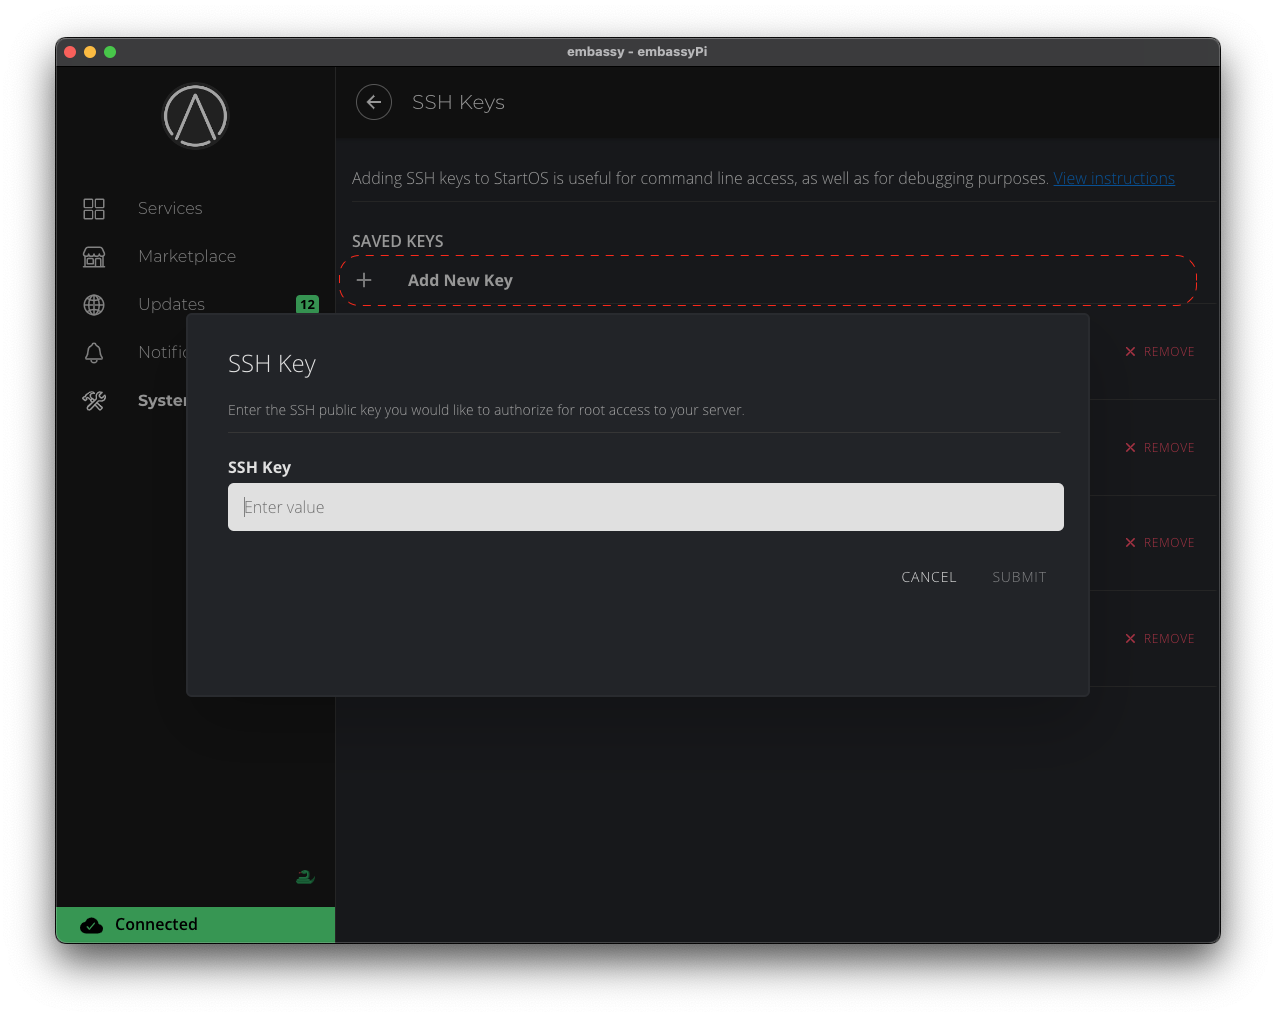
In the StartOS dashboard, navigate to System > SSH.
Click “Add New Key”.
Back in the terminal of your workstation, display and copy your SSH public key (created above):
On Mac simply copy your key to clipboard by typing the following into a terminal:
pbcopy < ~/.ssh/id_ed25519.pubOn Linux:
cat ~/.ssh/id_ed25519.pubOn Windows:
type .ssh\id_ed25519.pubCopy the whole resulting line that looks similar to:
ssh-ed25519 AAAAC3NzaC1lZDI1NTE5AAAAINH3tqX71XsPlzYhhoo9CqAP2Yx7gsGTh43bQXr1zqoq user@ema.il
Paste that line into the Add New Key text field
Click Submit
You are now ready to SSH into your server!
You can now access your Start9 server from the command line (Linux and Mac) using:
ssh start9@SERVER-HOSTNAME
Replacing <SERVER-HOSTNAME> with your server’s LAN (<custom-address>.local) address
Note
The first time you connect, you will see something like this:
The authenticity of host 'pregame-margin.local (192.168.1.175)' can't be established.
ED25519 key fingerprint is SHA256:BgYhzyIDbshm3annI1cfySd8C4/lh6Gfk2Oi3FdIVAa.
This key is not known by any other names.
Are you sure you want to continue connecting (yes/no/[fingerprint])?
Type yes and hit Enter to start trusting the server’s SSH public key.
If you get a scary looking warning that says something like WARNING: REMOTE HOST IDENTIFICATION HAS CHANGED! - fear not! This is most likely happening because you have recently reflashed or did an update from pre-v0.3.3, which would cause a change in the key for your device’s hostname (e.g. xxxxxxxx.local) or IP address (e.g. 192.168.1.x). The solution is to delete the existing entry from your known_hosts file, which is typically located at ~/.ssh/known_hosts. This will be specified in the warning, along with a helpful line number (in case your file is lengthy).
Following the commands above for Windows will get you in. However, if you prefer a GUI tool, BrewsBitcoin has created a guide for connecting via SSH using PuTTY on Windows.
Note
If you need SSH access to your server over Tor you can follow this guide.