Caution
You are not reading the latest stable version of this documentation. If you want up-to-date information, please have a look at 0.3.5.x.
Mozilla provides some of the most flexible, secure, and freedom-principled applications for using the web. We highly recommend completing all configuration below.
Caution
Setups may strongly vary across different Android forks
Once you have setup your Root CA and Tor is running on your device, you can proceed to configure Firefox:
Download Firefox Beta from the Play Store, or Fennec from F-Droid.
Caution
Regular Firefox offered in the Play Store will not allow this configuration - be sure to use Firefox Beta.
Next, download the Proxy Auto Config file that will use Orbot to resolve .onion URLs. We have one hosted here.
Navigate to about:config in the Firefox URL bar.

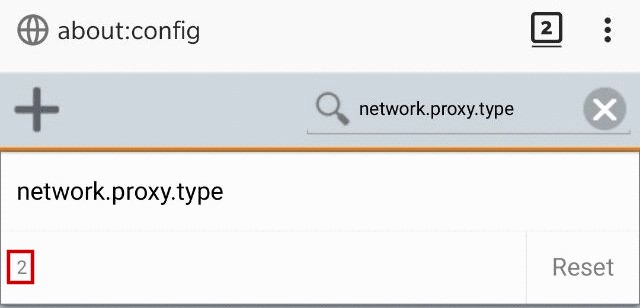
You are going to have to change a few options in here. First, type network.proxy.type into the search bar, and set the value to 2.
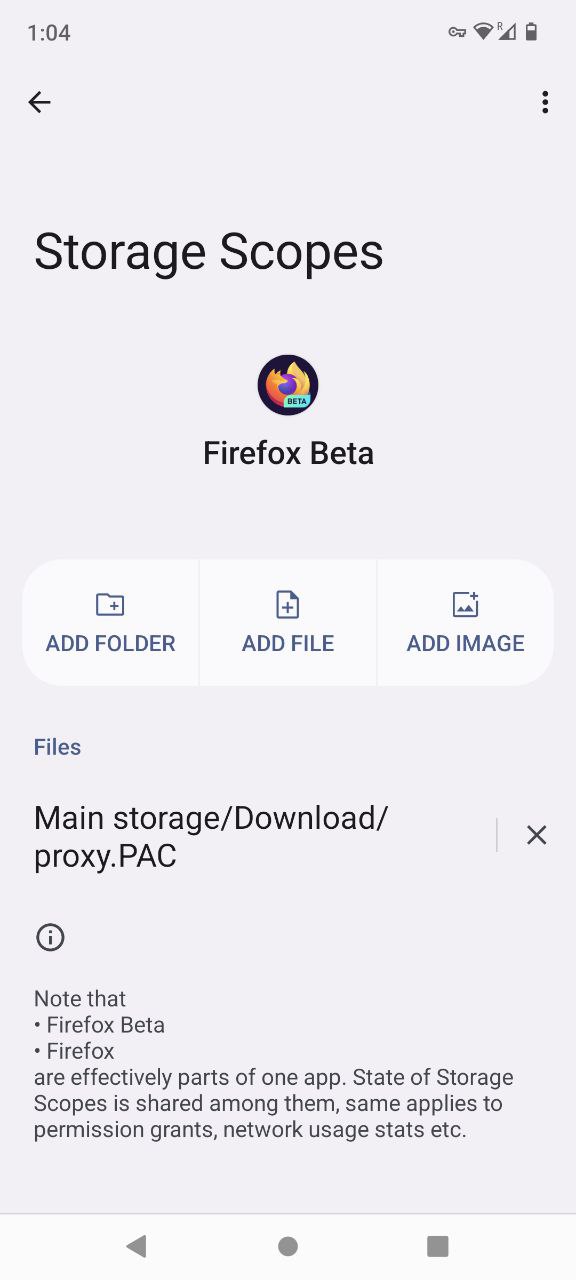
(This step is for GrapheneOS users only): Head to Settings -> Apps -> Firefox Beta -> Permissions -> Photos and videos -> Configure Storage Scopes -> ADD FILE then navigate to where you placed the proxy.pac file.
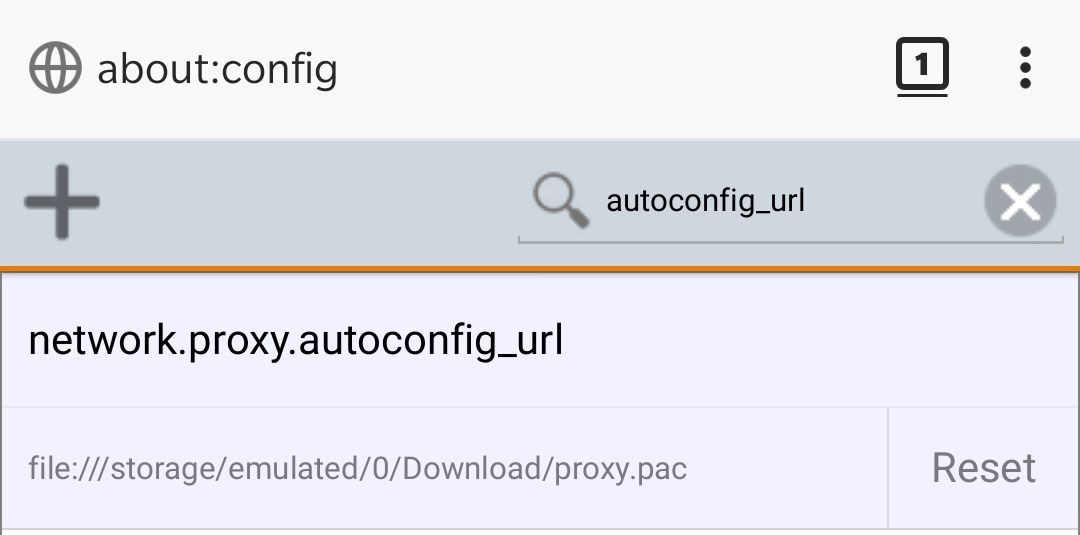
(All users): Search for network.proxy.autoconfig_url, and set the value to file:///storage/emulated/0/Download/proxy.pac. This is the default location of a the proxy.pac file downloaded in step 2, although your path may vary.
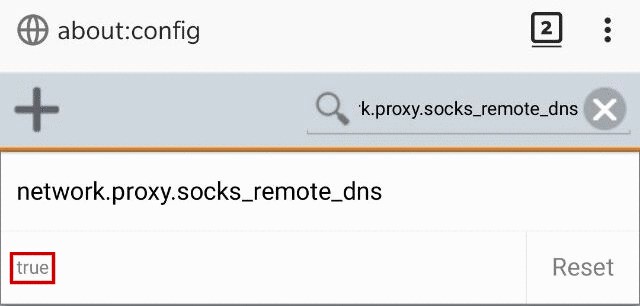
Search for network.proxy.socks_remote_dns, and set the value to true.
Search for dom.securecontext.allowlist_onions and set the value to true.
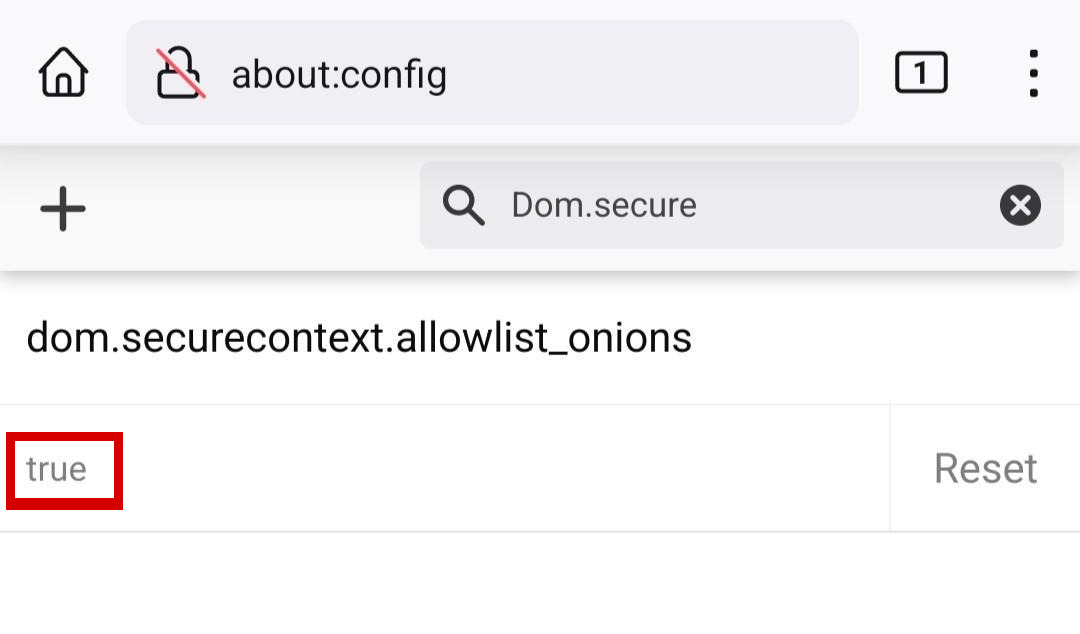
Finally, search for network.websocket.allowInsecureFromHTTPS and set the value to true:
Optional but recommended: search for network.http.referer.hideOnionsSource and set the value to true.
Restart Firefox, and you’re all set! You should now be able to navigate to .onion URLs in Firefox. This means you can bookmark your Start9 services’ .onion addresses, as well as use integrations, such as the Bitwarden browser extension.
Depending on your version of Firefox, you may be prompted to “Add to Home screen”, when visiting your main UI. If you do this, you can access your UI as a Progressive Web App (PWA), meaining that all browser context is removed, and StartOS will behave as a native Android app!
If you are not prompted, or skipped that screen, simply go to the Kebab (Settings) Menu > Install while visiting your server’s UI to complete the action.