Caution
You are not reading the latest stable version of this documentation. If you want up-to-date information, please have a look at 0.3.5.x.
This guide is for Server One users upgrading from a NASPi (pictured below). If you’re using an external drive, such as a Samsung T5/T7 please go here.
You will need a high quality USB-A to USB-A cable, or a USB-A to USB-C cable.
Shutdown your Server One.
Listen out for the shutdown sounds, then after few more seconds, disconnect the power.
Shutdown sound
Now disconnect the USB adapter found here:
Connect the USB cable to the lowest blue USB port like this:
Now connect the Ethernet cable and then the power to your Server Pro
Head to http://start.local on any device on the same LAN
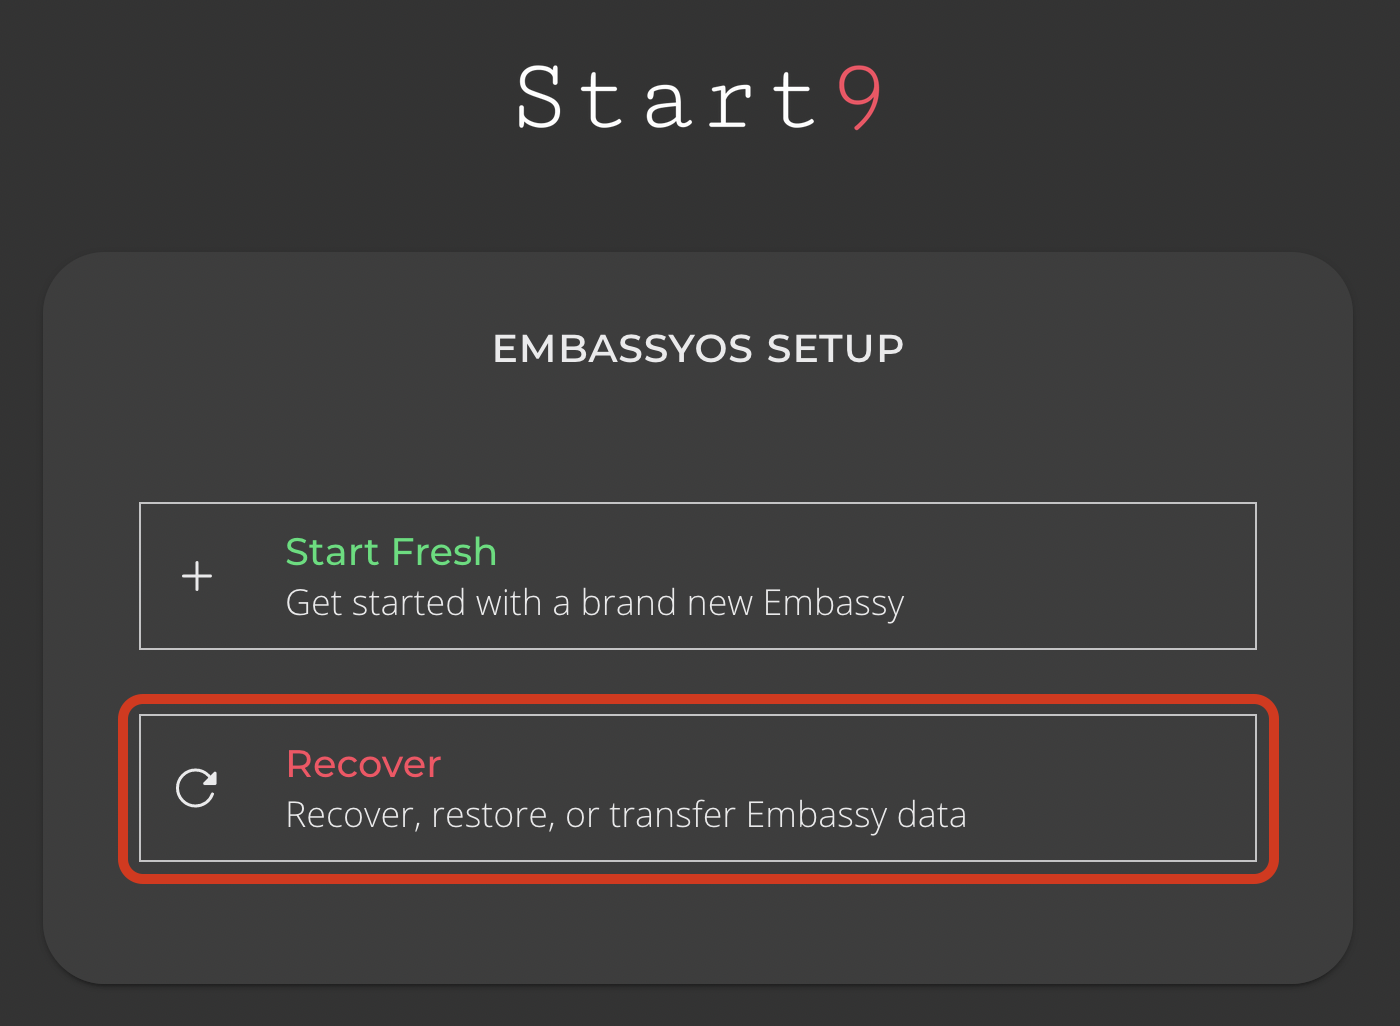
Select “Recover”

Select “Transfer”

Now connect the other end of the USB cable to either an Server Pro USB-3 port or the USB-C port:
Connect the power to the NASPi - you will hear this sound and can ignore it:
Beethoven’s 5th
Select the drive inside the NASPi (you may need to hit refresh):
Select the drive inside the Server Pro that you are migrating to (this will erase any data on this drive):
You will be asked to create a password. It can be the same as it was previously:
Your data will now transfer over - the length of this process will vary depending on how much data you have, but will likely take several hours:
You are now ready to proceed and use your Server Pro - it will have the same addresses and root certificate as it did before migrating.
For transferring from an USB-attached drive.
Shutdown your Server One
Listen out for the shutdown sounds, then after few more seconds, disconnect the power.
Shutdown sound
Now connect the Ethernet cable and then the power to your Server Pro
Head to http://start.local on any device on the same LAN
Select “Recover”

Select “Transfer”

Now connect your Samsung T5/T7/alternative drive to any USB-3 or USB-C port on your Server Pro
Select this drive (you may need to hit refresh):
Select the drive inside the Server Pro that you are migrating to (this will erase any data on this drive):
You will be asked to create a password. It can be the same as it was previously:
Your data will now transfer over - the length of this process will vary depending on how much data you have, but will likely take several hours:
You are now ready to proceed and use your Server Pro - it will have the same addresses and root certificate as it did before migrating.