Caution
You are not reading the latest stable version of this documentation. If you want up-to-date information, please have a look at 0.3.5.x.
This guide will go over how to switch out an old drive on your server to a different drive and transfer the data from the old one to the new one.
This will preserve the entire state of your server, including all Tor and LAN addresses as well as channels you have open on the lightning network!
This is not the same as running a back up and restoring them onto a new server.
Start by shutting down your server:
Remove the power and Ethernet cables:
Unscrew the two screws here and remove the USB adaptor:
Remove the micro SD card from the front:
Remove the bottom four screws:
Carefully slide the contents of the case out and disassemble the server by disconnecting the power wire and removing the 5 screws (and 4 brass spacers beneath the fan bracket) highlighted below:
This top section should lift off now and you’ll be left with the SSD still attached. Remove the two screws shown below:
Now slide the old SSD off the connector:
Now take the new SSD, and connect it where the old one was:
Secure the SSD with the two silver screws:
Reattach the 4 brass spacers holding the Pi to the SSD board, followed by the 5 black screws to secure the fan bracket and power management board. Then reconnect the power wire:
Now reinsert the server back into the case and reattach the bottom four black screws:
Reconnect the USB adaptor and back two black screws:
Flash the micro SD card with a fresh install of StartOS - you can follow the flashing guide here
Once flashed, reinsert the micro SD card into the server:
Reconnect the Ethernet cable, make sure the USB adaptor is connect and then finally connect the power cable:
Head to http://start.local on any device on the same LAN
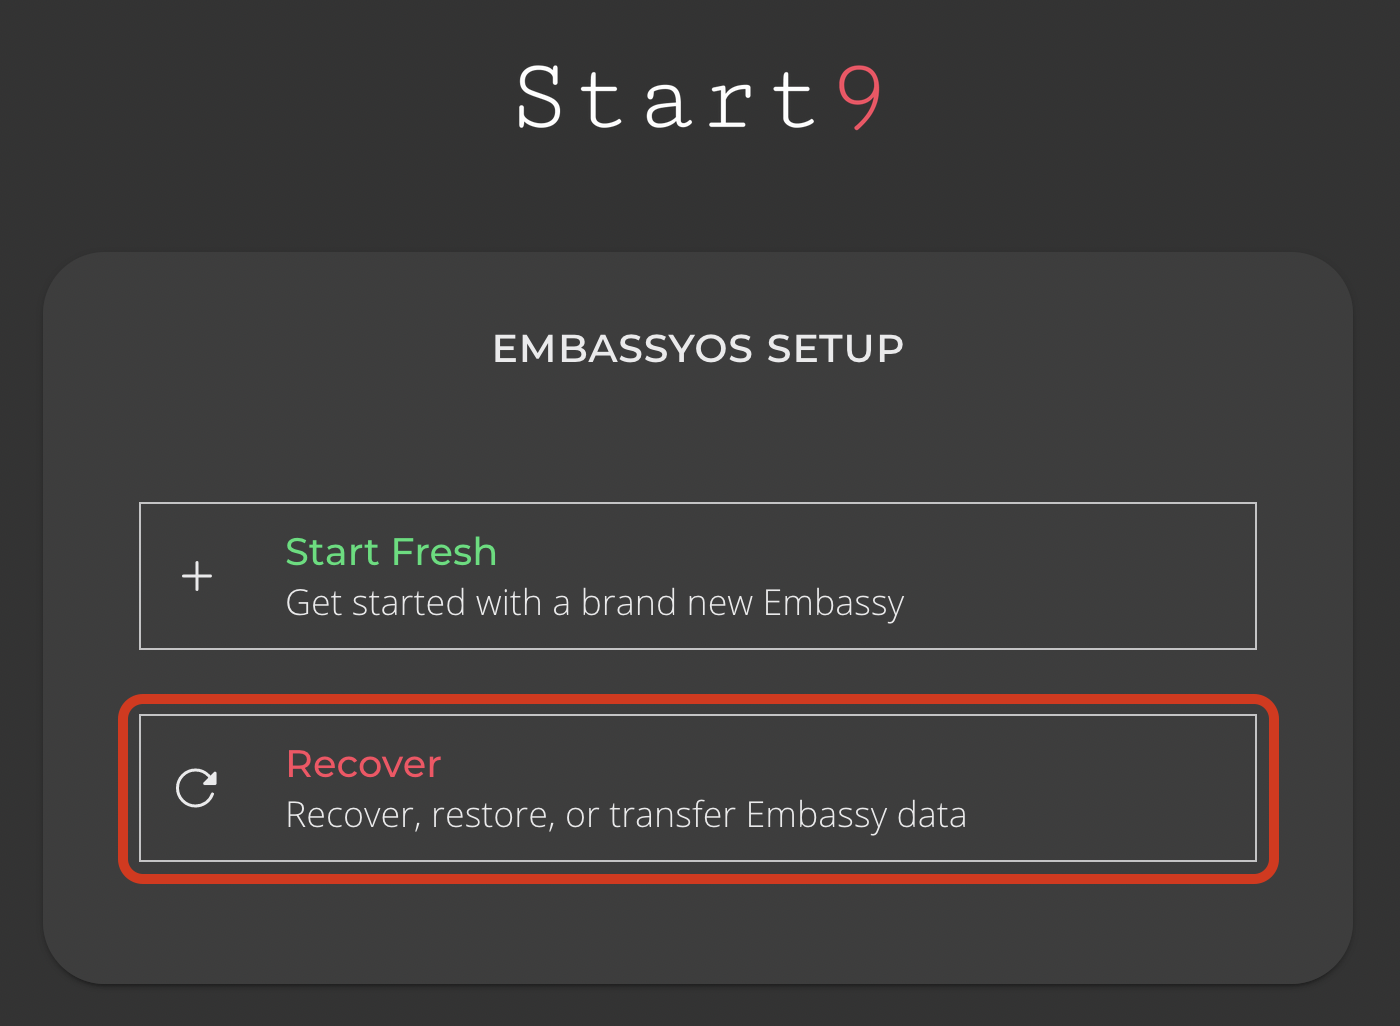
Select “Recover”

Select “Transfer”

Now connect the old ssd to your server:
Select the old drive - the one that is externally connect to your server (you may need to hit REFRESH):
Select the drive inside the server that you are migrating to - this is your NEW drive - and any data on this drive will be erased:
You will be asked to create a password. It can be the same as it was previously:
Your data will now transfer over - the length of this process will vary depending on how much data you have, but will likely take several hours:
You are now ready to proceed and use your server with its new drive! It will have the same addresses and root certificate as it did before migrating.